





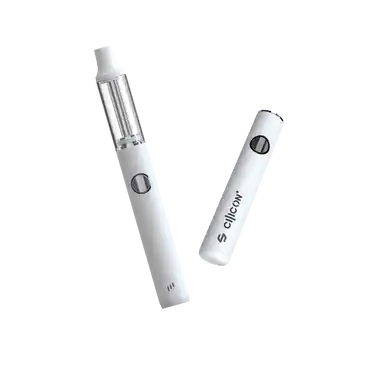
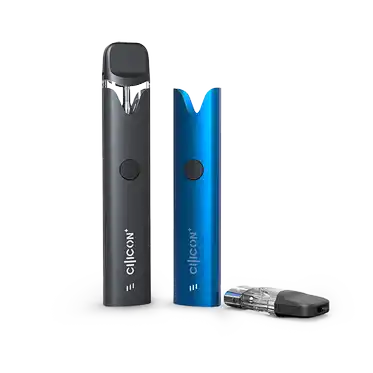
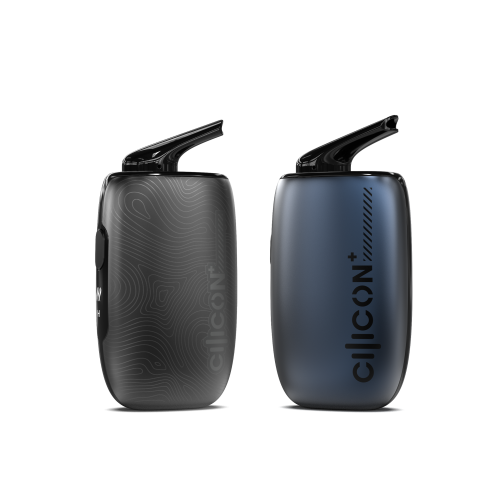
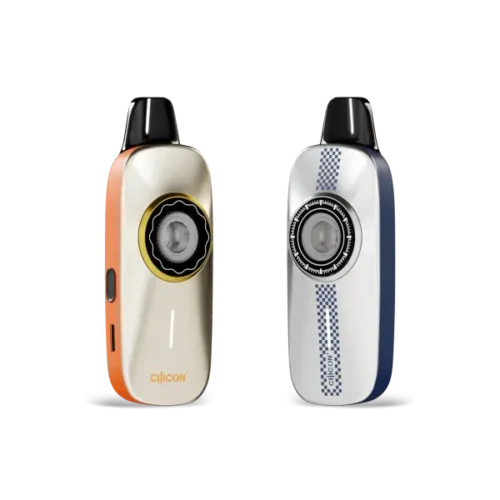







How to Use a 510 Battery With a Button?

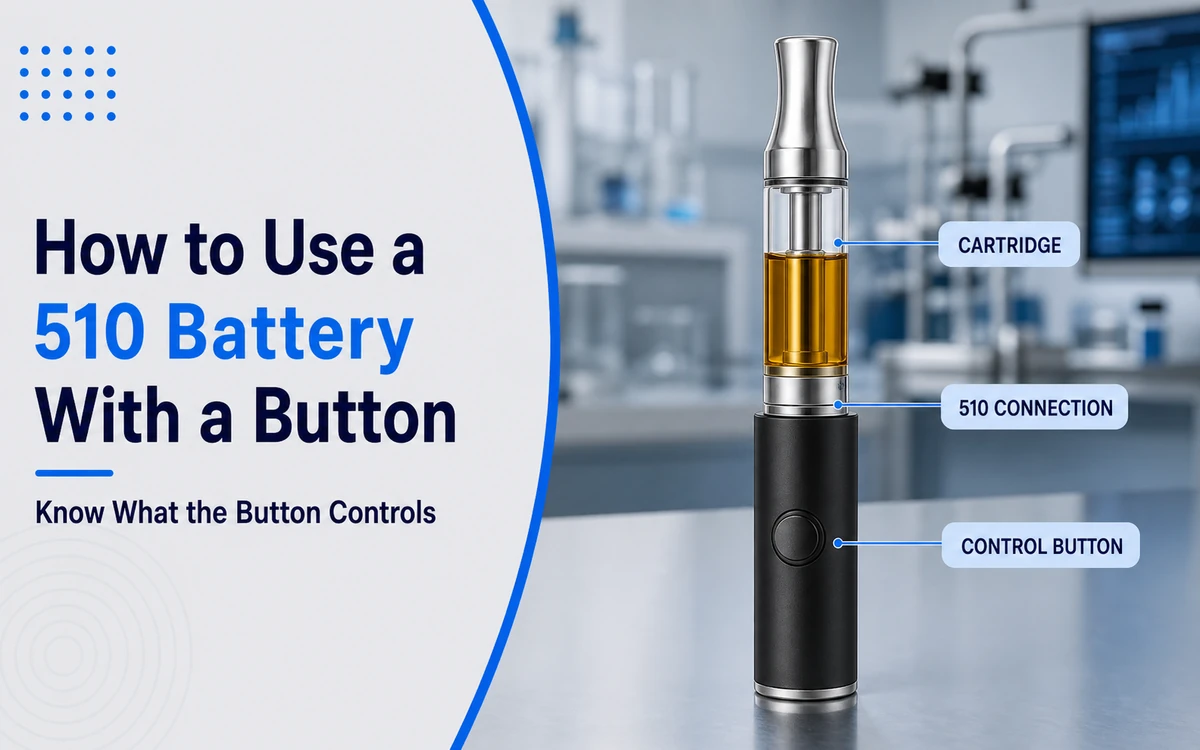
A button on a 510 battery does not always perform the same function. On some batteries, you hold the button while drawing to activate the cartridge. On others, the button controls power or output settings while an airflow sensor activates heating when you inhale.
That difference matters when learning how to use a 510 battery with a button. Assuming every device uses the same five-click, three-click, and two-click commands can lead to confusing results or inappropriate settings.
This guide explains how to identify your battery’s controls, connect a compatible cartridge, select an appropriate setting, operate the device, and respond safely when something does not work as expected.
Quick Answer
To use a 510 battery with a button, inspect and charge the battery, attach a compatible cartridge until it is snug, and follow the model’s documented power-on sequence. Hold the button while drawing only if it is a manual-fire battery. If the button controls power or settings on an inhale-activated battery, select the setting and inhale without holding the button.
Key Takeaways
- Five clicks for power, three clicks for output, and two clicks for preheat are common patterns, but they are not universal commands.
- A physical button may control manual firing, power, output settings, preheat, or a combination of functions.
- A 510 cartridge should be attached only until snug. Overtightening can interfere with contact or damage the connection.
- Start with the manufacturer’s default or lowest supported output and increase only when the battery and cartridge instructions allow it.
- Stop using a battery that is damaged, wet, swollen, unusually hot, or behaving unpredictably.
What Type of Button 510 Battery Do You Have?
Before pressing the button, determine whether the button activates the heating element or only controls the battery’s settings. The device manual or official product page should state the activation method.

| Battery design | What the button does | How heating is activated |
|---|---|---|
| Manual-fire battery | Controls power and activates the cartridge | Hold the button while taking a gentle draw |
| Control-button, inhale-activated battery | Controls power, output, or other settings | Inhale through the cartridge after the battery is ready |
| Dual-activation battery | Supports more than one operating method | Follow the selected mode and model instructions |
| Buttonless battery | No physical button | An airflow sensor activates the battery during inhalation |
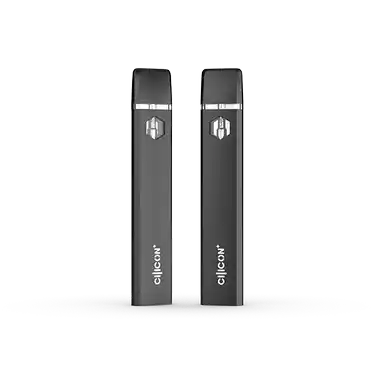
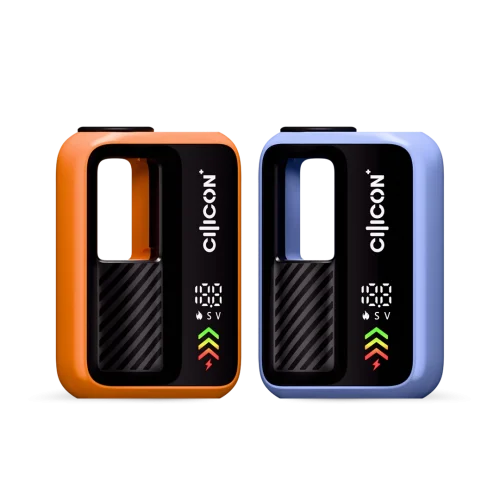
The presence of a button does not prove that the device is manual-fire. For example, the Cilicon FLEXA 510 Battery is listed as “Click to Power On; Inhale to Vape.” Its button controls the battery interface, but inhalation activates the cartridge.
For a broader explanation of the battery, cartridge, connector and heating element, see what a 510 thread battery is and how it works.
How to Use a 510 Battery With a Button in 7 Steps
The safest setup process is based on the instructions for the exact battery and cartridge. The steps below apply broadly without assuming that every button uses the same command sequence.
1. Read the Battery Instructions
Find the official manual, packaging instructions or manufacturer product page. Confirm:
- How the battery turns on and off
- Whether the button is manual-fire or control-only
- How output settings are changed
- Whether the battery has a preheat function
- What its light or display signals mean
- Which charging equipment is specified
- Which cartridges and resistance range it supports
Do not rely only on a button sequence remembered from another battery. Two products with similar shapes may use different controls.
2. Inspect and Charge the Battery
Check the battery housing, connector and charging port before use. Do not use the device if the housing is cracked, the port is damaged, liquid has entered the battery, or the battery becomes abnormally hot.
Charge the battery using the cable, charger and input specification recommended for that model. Indicator behavior varies, so consult the instructions instead of assuming that red always means charging or green always means full.
For factors that affect charging duration, see how long a 510 battery takes to charge.
3. Attach a Compatible 510 Cartridge
Align the cartridge with the battery and turn it gently until the connection is snug. Stop if the cartridge feels crooked, catches on the threads or requires force.
Do not overtighten the cartridge. Excessive pressure can affect the thread, electrical contact or surrounding components.
A 510 connection provides broad compatibility, but it does not guarantee that every cartridge will work with every battery. Physical clearance, airflow, contact position, resistance and output requirements can still differ.
4. Turn On or Unlock the Battery
Use the power sequence specified for the model. Many button-operated 510 batteries use five quick clicks, but some use a different sequence or remain in standby until the button is pressed.
Watch for the model’s documented confirmation signal. The battery may flash an indicator, illuminate a display or show a power symbol.
If nothing happens, do not keep pressing random sequences. Confirm that the battery is charged and review the instructions.
5. Select an Appropriate Output Setting
If the battery has adjustable output, begin with its default setting or the lowest setting supported by both the battery and cartridge. Increase one step at a time only when the cartridge manufacturer allows it.
A higher setting is not automatically better. Excessive output can cause harsh performance, overheating or damage to the cartridge heating element. A setting that is too low may produce weak or inconsistent output.
The correct setting depends on the complete battery-and-cartridge system. The Cilicon cartridge voltage guide explains the variables in more detail.
6. Activate the Correct Way
For a manual-fire battery, press and hold the button while taking a gentle, steady draw through the mouthpiece. Release the button when the draw ends.
For an inhale-activated battery with a control button, use the button to power on or select a setting, then inhale to activate the heating element. Do not hold the button unless the instructions say that the button also supports manual firing.
Avoid holding a manual-fire button continuously beyond the device’s documented operating limit. If the battery cuts off, allow it to return to its normal state instead of repeatedly attempting an extended activation.
7. Turn Off the Battery After Use
If the battery has a lock or power-off function, activate it before putting the device away. Turning off a button-operated battery helps prevent accidental activation in a pocket, bag or storage area.
Store the battery according to the manufacturer’s instructions. Keep it away from extreme temperatures, moisture and objects that could damage the button, connector or charging port.
How Many Times Should You Press the Button?
There is no universal click count for every 510 battery. The following sequences are common conventions, not guaranteed instructions.
| Possible function | Common button pattern | Important limitation |
| Power on, power off or lock | Five quick clicks | Some batteries use another sequence or do not require a power-on command |
| Change output setting | Three quick clicks | The number of settings and order vary by model |
| Start or cancel preheat | Two quick clicks | Not every battery has preheat, and some models use another command |
| Manual firing | Press and hold | Applies only when the button directly activates the heating element |
| Check battery status | One click or display activation | Indicator behavior is model-specific |
If a button sequence does not produce the expected response, stop and consult the model instructions. Repeated random commands may change a setting without making the change obvious.
What Does Preheat Do on a 510 Battery?
A built-in preheat function applies a controlled power cycle before normal use. Depending on the cartridge and battery design, preheat may help oil flow toward the heating element or help with a cartridge that has become difficult to draw in cooler conditions.
Preheat is not a universal solution for every clog or weak-output problem. Use it only when:
- The battery officially supports preheat
- The command is confirmed in the instructions
- The attached cartridge is compatible with the function
- The cartridge is not already leaking, flooded or physically damaged
If a cartridge is gurgling or leaking, applying more heat may not solve the underlying problem. Inspect the setup and use a structured troubleshooting process instead.
What Do the LED Lights Mean?
LED colors and blinking patterns are not standardized across all 510 batteries. The same color can represent charge level on one device and output level or an error condition on another.
| Indicator behavior | What it may represent | What to do |
| No light after the power command | Low charge, incorrect command or damaged battery | Charge with the approved equipment and check the manual |
| Repeated blinking during activation | Low battery, connection issue or protection response | Stop activation and identify the documented signal |
| Light turns on but no output is produced | Cartridge issue, blocked airflow, poor contact or empty cartridge | Turn off the battery and inspect the cartridge and connection |
| Indicator changes after several clicks | Output or operating mode changed | Confirm the selected mode before continuing |
| Battery or charging area becomes unusually hot | Charging, battery or connection problem | Disconnect when safe and stop using the device |
Avoid diagnosing a battery by LED color alone. Model-specific documentation is the most reliable source.
What If the 510 Battery Is Not Working?
Start with simple, non-invasive checks. Do not open the battery, bypass its protection system, insert metal objects into the connector or pry the center contact.
| Problem | Safe first checks |
| Battery will not turn on | Confirm the click sequence, charge level and charging equipment |
| Battery blinks when activated | Check the manual for the exact pattern; remove and gently reconnect the cartridge |
| Light activates but there is no output | Check whether the cartridge is empty, clogged, damaged or making proper contact |
| Output is weak | Confirm the charge level and selected setting; inspect the cartridge for airflow or feeding problems |
| Cartridge will not attach smoothly | Stop rather than forcing the thread; verify cartridge dimensions and connection type |
| Battery becomes very hot | Stop using it, place it away from flammable materials and contact the manufacturer |
With the battery switched off and disconnected from its charger, loose residue around the 510 connection can be removed with a dry cotton swab or soft, lint-free cloth. Do not immerse the battery or allow liquid to enter the connector or charging port.
For a more complete diagnostic sequence, use the 510 thread battery troubleshooting guide.
Common Mistakes to Avoid
Assuming Five, Three and Two Clicks Always Mean the Same Thing
These are common control patterns, but they are not a formal standard. Confirm each function before using it.
Holding Every Button While Drawing
Some batteries use a button for power or output control but remain inhale-activated. Holding the button may be unnecessary or may trigger another function.
Starting at the Highest Setting
Higher output can produce more heat than the cartridge is designed to handle. Begin with an approved low or default setting.
Overtightening the Cartridge
A cartridge needs stable contact, not maximum force. Overtightening can make the cartridge difficult to remove and may affect the connector.
Diagnosing the Device by LED Color Alone
Light colors and blink patterns vary between manufacturers and models. Use the official indicator chart.
Trying to Repair the Center Contact With a Tool
Prying a contact can damage insulation, deform the connector or create an electrical problem. If cleaning and reconnecting do not help, contact the manufacturer or replace the affected component.
Basic Battery Safety
The U.S. Food and Drug Administration advises users to read and understand the manufacturer’s use and care instructions, charge devices on a clean and flat surface away from flammable materials, and protect them from extreme temperatures.
Follow these additional precautions:
- Use only the charging equipment specified for the model.
- Do not charge the battery on a bed, couch, pillow or other soft surface.
- Keep the device away from direct sunlight and hot vehicles.
- Do not charge or use a battery that is physically damaged or wet.
- Stop using the device if it becomes unusually hot or behaves unpredictably.
- Do not modify the battery or bypass built-in protection features.
- Keep all vape hardware inaccessible to children and minors.
This article addresses hardware operation for adults of legal age. It does not establish that vaping or battery-powered hardware is risk-free.
For Brands Selecting Button-Equipped 510 Batteries
For a commercial hardware project, the word “button” is not a complete interface specification. Brands should define whether the button controls manual firing, power, output settings, preheat or a combination of functions.
The battery should then be evaluated with the intended cartridge, including its dimensions, resistance, airflow structure and expected output range. User instructions should clearly explain each command, indicator and safety response instead of relying on assumed industry conventions.
Brands comparing available platforms can review the Cilicon 510 thread battery collection or contact Cilicon to discuss cartridge compatibility and project-specific requirements.
Frequently Asked Questions
How many times do I press a 510 battery button to turn it on?
Many button-operated 510 batteries use five quick clicks to turn on, turn off or unlock the device. However, five clicks are a common convention rather than a universal rule. Some batteries use another sequence, and some control-button batteries remain in standby. Check the manual or official product page for the exact model.
Do I hold the button while using a 510 battery?
Hold the button while drawing only if the battery uses manual-fire activation. Some batteries have a physical button for power or settings but use an airflow sensor to activate heating. If the product is described as “inhale-activated” or “draw-activated,” the button may not need to be held during use.
What is the button on a 510 battery for?
Depending on the model, the button may control power, locking, manual firing, voltage selection, preheat or status information. One button can support several commands through different click patterns. The device instructions should identify which commands are available and how the indicator confirms each selection.
What does pressing a 510 battery button three times do?
Three quick clicks commonly cycle through voltage or power settings, but this behavior is model-specific. On another battery, three clicks may perform a different function or do nothing. Confirm the control scheme before changing the setting, and avoid assuming that a particular LED color represents the same output on every device.
What does preheat mean on a 510 battery?
Preheat is a controlled power cycle that occurs before normal activation. It may help prepare the cartridge for use when oil flow is slow or the device has been stored in cooler conditions. Preheat should only be used when the battery and cartridge support it, and it should not be treated as a universal fix for leaks or clogs.
Why does my 510 battery blink when I press the button?
Blinking can indicate low charge, poor cartridge contact, an unsupported cartridge, a protection response or a selected operating mode. The meaning depends on the number, color and timing of the flashes. Stop pressing the button repeatedly and compare the pattern with the manufacturer’s indicator guide.
Can every 510 cartridge be used with a button battery?
Most standard 510 cartridges fit many 510 batteries, but compatibility is not guaranteed by the thread alone. The cartridge must also have suitable physical dimensions, electrical contact, airflow placement, resistance and output requirements. Do not force a cartridge that does not attach smoothly.
Final Answer
To use a 510 battery with a button, first identify what the button actually controls. Charge and inspect the battery, attach a compatible cartridge without overtightening, follow the documented power sequence, and begin with an approved low or default output.
Hold the button while drawing only on a manual-fire device. If the battery uses its button for power or settings and relies on inhale activation, select the appropriate mode and inhale normally. Turn the device off after use, and stop using it if it becomes damaged, wet or unusually hot.

Written by:
Ethan Parker
Hello, I’m Ethan, a content marketing specialist at CILICON, a top-tier cannabis vape manufacturer. My goal extends beyond merely promoting products; it is more importantly about helping people understand and learn about cannabis and vaping, providing them with relevant knowledge and information. Having graduated from University of North Carolina, I cultivated a strong passion and interest in nicotine, cannabinoids, and vape products. At CILICON, I integrate this knowledge and enthusiasm into content creation, sharing interesting and valuable insights.
